What are the installation instructions for a Honda Strut Assembly?
Jan 01, 2026
Leave a message
As a trusted supplier of Honda Strut Assemblies, I understand the importance of providing clear and comprehensive installation instructions. Whether you're a seasoned mechanic or a DIY enthusiast, proper installation is crucial for the optimal performance and safety of your Honda vehicle. In this blog post, I'll walk you through the step-by-step process of installing a Honda Strut Assembly, covering everything from preparation to final adjustments.
Preparation
Before you begin the installation process, it's essential to gather all the necessary tools and materials. Here's a list of items you'll need:
- Socket and wrench set: A variety of socket sizes and wrenches will be required to remove and install bolts and nuts.
- Jack and jack stands: These tools are necessary to lift and support the vehicle safely.
- Torque wrench: To ensure that all bolts are tightened to the correct specifications.
- Pry bar: Useful for separating components and removing stubborn parts.
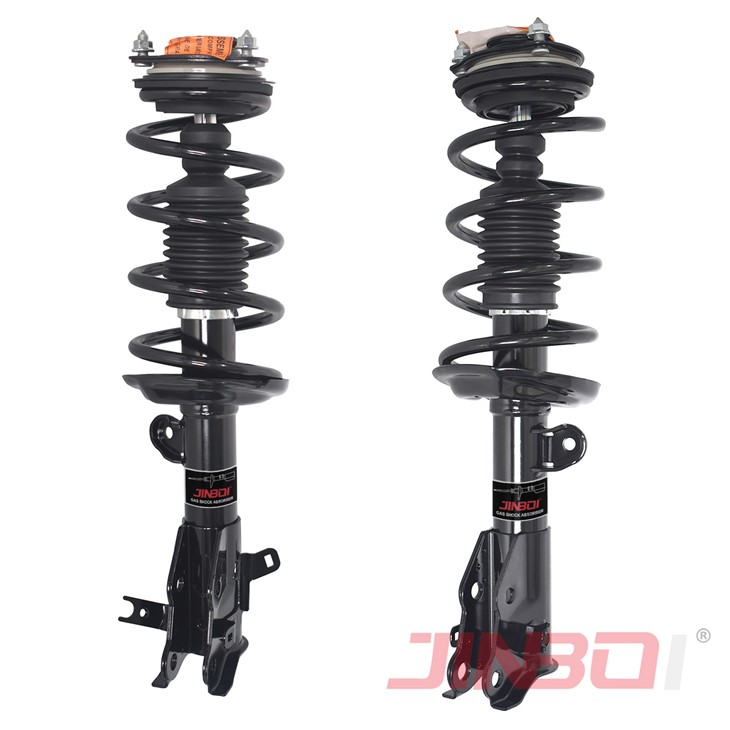
- New Honda Strut Assembly: Make sure you have the correct strut assembly for your specific Honda model. You can find a wide range of 2002 Honda Crv Struts, Honda Civic Front Struts, and Rear Pair Honda CR-V Struts on our website.
- Penetrating oil: Helps to loosen rusted or stuck bolts.
- Safety glasses and gloves: Protect your eyes and hands from debris and sharp edges.
Once you have all the necessary tools and materials, park your Honda on a level surface and engage the parking brake. Place wheel chocks behind the rear wheels to prevent the vehicle from rolling.
Removing the Old Strut Assembly
- Lift the vehicle: Use a jack to lift the front or rear of the vehicle, depending on which strut assembly you're replacing. Place jack stands under the vehicle's frame or designated lifting points for added safety. Make sure the vehicle is stable and secure before proceeding.
- Remove the wheel: Loosen the lug nuts on the wheel using a lug wrench. Once the lug nuts are loose, use the jack to raise the vehicle slightly higher until the wheel is off the ground. Remove the lug nuts and take off the wheel.
- Locate the strut assembly: The strut assembly is typically located between the wheel hub and the vehicle's frame. It consists of a shock absorber, coil spring, and upper mount.
- Disconnect the sway bar link: Use a socket or wrench to remove the bolt that connects the sway bar link to the strut assembly. This will allow the strut to move freely during removal.
- Remove the brake line bracket: Some Honda models have a brake line bracket attached to the strut assembly. Use a socket or wrench to remove the bolt that holds the bracket in place.
- Remove the strut mounting bolts: Locate the three or four bolts that hold the strut assembly to the vehicle's frame. Use a socket or wrench to remove these bolts. In some cases, the bolts may be rusted or stuck. If this is the case, apply penetrating oil and let it sit for a few minutes before attempting to remove the bolts again.
- Lower the strut assembly: Once the mounting bolts are removed, carefully lower the strut assembly from the vehicle. Be careful not to damage the brake lines or other components.
Installing the New Strut Assembly
- Inspect the new strut assembly: Before installing the new strut assembly, inspect it for any damage or defects. Make sure all the components are in good condition and that the strut is the correct fit for your Honda model.
- Transfer the necessary components: If your new strut assembly doesn't come with all the necessary components, such as the upper mount or coil spring, you'll need to transfer these components from the old strut assembly. Use a spring compressor to safely compress the coil spring before removing it from the old strut.
- Install the new strut assembly: Carefully lift the new strut assembly into place and align it with the mounting holes on the vehicle's frame. Insert the mounting bolts and tighten them by hand.
- Connect the sway bar link: Reattach the sway bar link to the strut assembly using the bolt you removed earlier. Make sure the bolt is tightened to the correct torque specification.
- Reattach the brake line bracket: If you removed the brake line bracket, reattach it to the strut assembly using the bolt you removed earlier.
- Tighten the strut mounting bolts: Use a torque wrench to tighten the strut mounting bolts to the manufacturer's specifications. This will ensure that the strut assembly is securely attached to the vehicle's frame.
- Install the wheel: Place the wheel back on the wheel hub and hand-tighten the lug nuts. Lower the vehicle using the jack until the wheel is on the ground. Use a lug wrench to tighten the lug nuts to the correct torque specification.
Final Adjustments
- Check the alignment: After installing the new strut assembly, it's important to have the vehicle's alignment checked. A misaligned vehicle can cause uneven tire wear, poor handling, and decreased fuel efficiency.
- Test drive the vehicle: Take the vehicle for a test drive to ensure that the new strut assembly is working properly. Pay attention to any unusual noises, vibrations, or handling issues. If you notice any problems, stop the vehicle immediately and have it inspected by a professional mechanic.
- Dispose of the old strut assembly: Properly dispose of the old strut assembly according to local regulations. Many auto parts stores and recycling centers accept used strut assemblies for recycling.
Conclusion
Installing a Honda Strut Assembly may seem like a daunting task, but with the right tools, materials, and instructions, it can be a manageable DIY project. By following the steps outlined in this blog post, you can ensure that your new strut assembly is installed correctly and that your Honda vehicle performs at its best.

If you have any questions or need further assistance with the installation process, don't hesitate to contact us. As a leading supplier of Honda Strut Assemblies, we have the expertise and experience to help you find the right parts for your vehicle and provide you with the support you need. Whether you're looking for 2002 Honda Crv Struts, Honda Civic Front Struts, or Rear Pair Honda CR-V Struts, we've got you covered.
Contact us today to discuss your procurement needs and let us help you keep your Honda running smoothly.
References
- Honda Owner's Manual
- Auto Repair Manuals